
Learning Paths
Last Updated: May 30, 2026 at 14:00
Dependency Injection in Micronaut for Spring Boot Developers: A Practical Guide
A practical introduction to Micronaut's compile-time dependency injection model, explained through Spring Boot equivalents
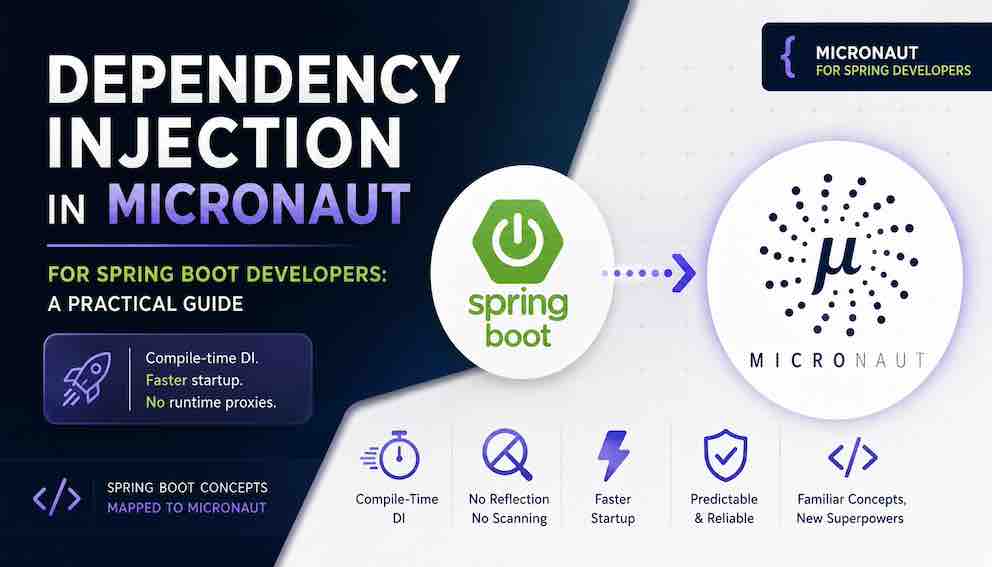
If you're a Spring Boot developer, Micronaut's dependency injection model will feel familiar at first glance — but it works very differently under the hood. Instead of runtime reflection and classpath scanning, Micronaut builds the entire dependency graph at compile time using annotation processing. This results in faster startup times, no runtime proxy generation, and a more predictable application model. In this guide, we map Spring's DI concepts like @Component, @Autowired, and @Configuration to their Micronaut equivalents so you can transition smoothly.
The One Thing to Keep in Mind
In Spring, dependency injection is resolved at runtime — the application context scans the classpath, reads annotations reflectively, builds the bean graph, and wires everything together when the application starts.
In Micronaut, the dependency graph is precomputed at compile time using annotation processing, so there is no runtime classpath scanning or reflection-based bean discovery. There is no component scanning step like Spring's @ComponentScan. By the time your application starts, the container simply loads what was already prepared — no discovery, no reflection, no surprises.
A few things still happen at runtime: beans are loaded into memory, environment and property resolution takes place, and conditional bean evaluation occurs early in the startup sequence. But the expensive structural work — figuring out what depends on what — is already done.
From your perspective as a developer, the code you write looks almost identical to Spring. The difference is invisible during development and significant at deployment.
Declaring Beans
In Spring, you reach for @Component, @Service, or @Repository depending on which layer a class belongs to. These are stereotype annotations — they all produce a singleton-scoped bean, but carry a semantic label. Micronaut takes a different approach: you declare the scope directly, and @Singleton is the annotation you will use most of the time.
@Singleton comes from jakarta.inject, the standard JSR-330 specification, which both Spring and Micronaut support. This means the annotation itself is not framework-specific. That said, Micronaut's full power comes from its own extensions beyond JSR-330 — annotations like @Factory, @Requires, and @Prototype are Micronaut-specific, and you will encounter them regularly.
Injecting Dependencies
Micronaut supports the same three injection styles as Spring: constructor, field, and method injection.
Constructor Injection
This is the recommended approach in both frameworks, and the mechanics are nearly identical:
Micronaut detects a single constructor automatically with no annotation required — just like modern Spring. If you have multiple constructors, annotate the intended one with @Inject (JSR-330's equivalent of @Autowired).
Field Injection
This works, but constructor injection is preferred — it makes dependencies explicit and keeps classes testable without a container.
Method (Setter) Injection
Bean Scopes
Micronaut's scopes map closely to Spring's, though the annotations differ slightly.
@Singleton (the default for most beans) gives you one instance for the lifetime of the application — equivalent to Spring's default singleton scope. @Prototype gives you a new instance every time the bean is injected — equivalent to Spring's @Scope("prototype"). @RequestScope gives you one instance per HTTP request, same name and same behaviour as Spring.
One scope worth knowing that has no direct Spring equivalent is @Infrastructure, used for framework-internal beans that cannot be replaced by user-defined beans.
@RequestScope is useful for beans that should hold per-request state — a common example is a context object that carries the authenticated user for the duration of a request:
Inject it into a controller or service and it will be a fresh instance for every incoming HTTP request, with no risk of state leaking between requests:
Here is a @Prototype bean in practice:
Injecting a @Prototype bean into a singleton requires a small but important pattern. In Spring you would use ObjectFactory or @Lookup. In Micronaut you use jakarta.inject.Provider<T> — the JSR-330 standard way:
Each call to builderProvider.get() returns a fresh ReportBuilder instance.
Qualifiers
When you have multiple implementations of the same interface, you need to tell Micronaut which one to inject. @Named covers the most common Spring @Qualifier use cases — name-based disambiguation:
Inject a specific implementation by name:
To inject all implementations of an interface — the equivalent of @Autowired List<SomeInterface> in Spring — simply declare a List parameter and Micronaut injects every matching bean:
Bean Factories
For third-party classes you cannot annotate yourself, Micronaut provides @Factory and @Bean — the direct equivalent of Spring's @Configuration and @Bean:
@Factory marks the class; @Bean marks each factory method; scope annotations go on the method. The pattern is identical to what you already know from Spring.
Conditional Beans
Spring spreads its conditional logic across many annotations: @ConditionalOnProperty, @ConditionalOnClass, @ConditionalOnMissingBean, and so on. Micronaut consolidates all of this into a single, flexible @Requires annotation.
Load a bean only when a configuration property is set:
Load a bean only when a class is present on the classpath:
Load a bean only in a specific environment. Micronaut determines the active environment from the micronaut.environments system property or the MICRONAUT_ENVIRONMENTS environment variable — you can also set it programmatically when bootstrapping the application. test is a built-in environment that Micronaut activates automatically when it detects a test framework (JUnit, Spock) on the classpath, so you don't need to configure anything for the common case of test-only beans:
For custom environments — say, staging or local — you would launch the application with -Dmicronaut.environments=staging or set MICRONAUT_ENVIRONMENTS=staging, and any beans annotated with @Requires(env = "staging") would become active.
@Requires conditions are evaluated during bean definition at startup, using metadata generated at compile time. The structural work is already done before the JVM reaches your conditional logic.
Bean Replacement in Tests
In tests you often want to swap a real bean for a mock. Micronaut handles this with @MockBean, scoped to the test class so no global state leaks between tests:
Spring Boot Test has a @MockBean annotation too — same name, same intent, same scoping behaviour.
Lifecycle Hooks
@PostConstruct and @PreDestroy work exactly as they do in Spring — same annotations, same semantics, no surprises:
AOP and Interceptors
Spring AOP generates proxies at runtime using CGLIB or JDK dynamic proxies. Micronaut takes a different approach: interceptors are wired directly into compiled bean definitions, avoiding runtime proxy generation entirely. Errors in interceptor configuration surface during the build, not at startup.
Applying AOP in Micronaut is a three-step process.
Step 1 — define the annotation:
Step 2 — write the interceptor:
Step 3 — apply the annotation:
Micronaut also ships several built-in interceptors you can use immediately: @Cacheable, @Retryable, @CircuitBreaker, and @Transactional all work through the same mechanism.
One Important Difference to Internalise
Spring's application context is mutable at runtime — beans can be registered dynamically, and the context can be queried and manipulated after startup. Micronaut's DI graph is immutable once the application has started. Everything that will be wired is determined at compile time. This is a meaningful conceptual shift, and it is worth keeping in mind as you design your application: patterns that rely on dynamic bean registration at runtime will need a different approach in Micronaut.
About N Sharma
Lead Architect at StackAndSystemN Sharma is a technologist with over 28 years of experience in software engineering, system architecture, and technology consulting. He holds a Bachelor’s degree in Engineering, a DBF, and an MBA. His work focuses on research-driven technology education—explaining software architecture, system design, and development practices through structured tutorials designed to help engineers build reliable, scalable systems.
Disclaimer
This article is for educational purposes only. Assistance from AI-powered generative tools was taken to format and improve language flow. While we strive for accuracy, this content may contain errors or omissions and should be independently verified.